Add a semi-transparent overlay to an image with {magick}
Because who has time for CSS and gradients?
magick
Author
Thomas Mock
Published
June 22, 2022
I often find myself needing to apply a semi-transparent overlay in slides or reports to provide a better backdrop for text on top of a hero/splash image.
You can apply an overlay with CSS + background-image + gradients, but let’s do it natively in R with magick as that gives us more flexibility outside of a HTML environment.
Get an image
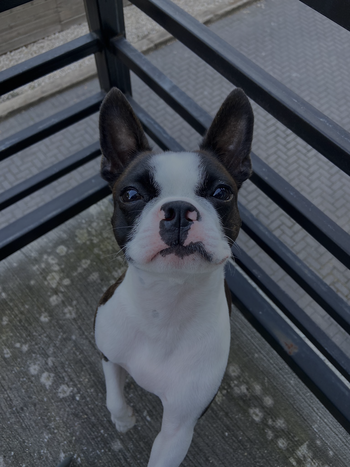
I’ll load magick and read in an example image of my coworker dog Howard.
You can apply a quick overlay of a single color with a simple “one liner” - but we’ll go a bit more custom in case as I’m sure I’ll want to know how someday!
The basic idea is to draw a rectangle the exact size of the image OVER the image with some transparency.
The create_overlay() function takes a raw image url/path or magick-image and then applies your chosen color to it.
create_overlay<-function(img, overlay_color="#00000060", out_file=NULL){if(!("magick-image"%in%class(img))){raw_img<-image_read(img)}elseif("magick-image"%in%class(img)){raw_img<-img}# get image dimensionsimg_info<-image_info(raw_img)# draw the raw imageimg_overlay<-image_draw(raw_img)# draw a rectangle of equal proportion to the raw imagerect(0, 0, img_info$width, img_info$height, col =overlay_color, border =NA)# save the resultsdev.off()# return it or return + save outif(!is.null(out_file)){image_write(img_overlay, path =out_file)message(paste("Image saved as", out_file))return(img_overlay)}else{return(img_overlay)}}
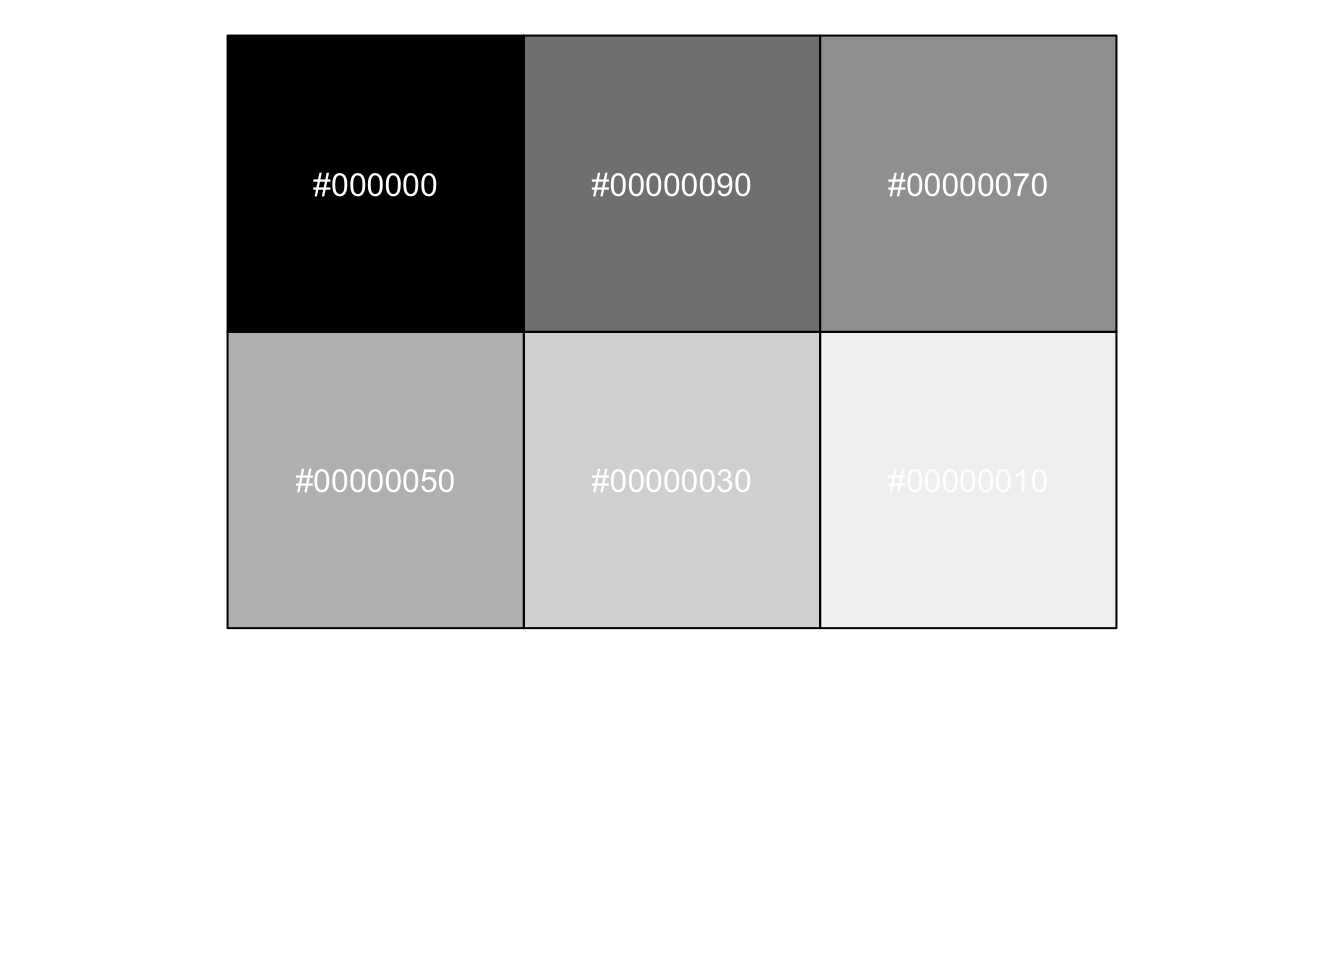
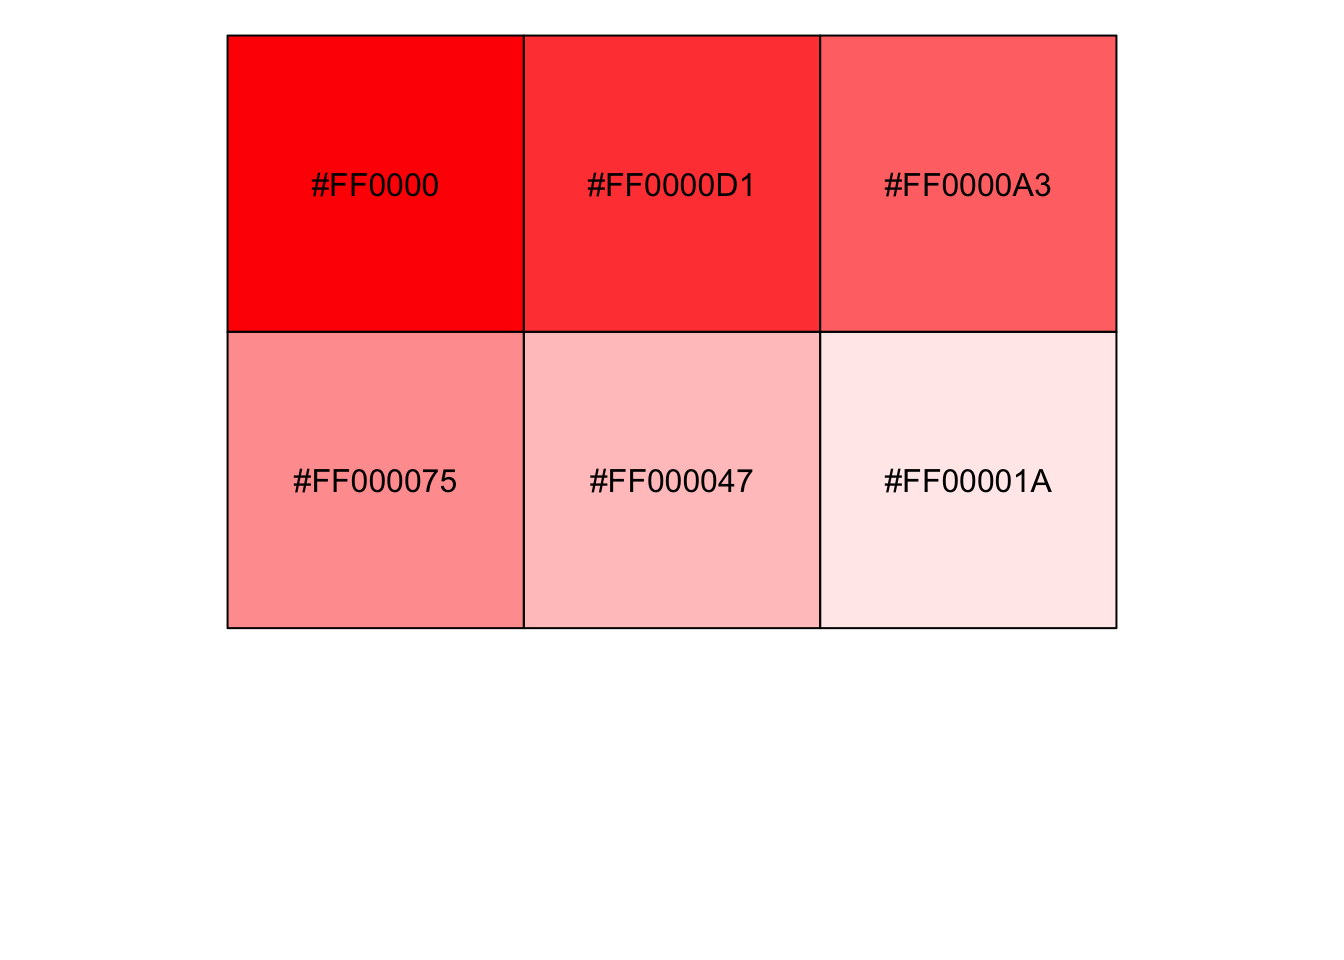
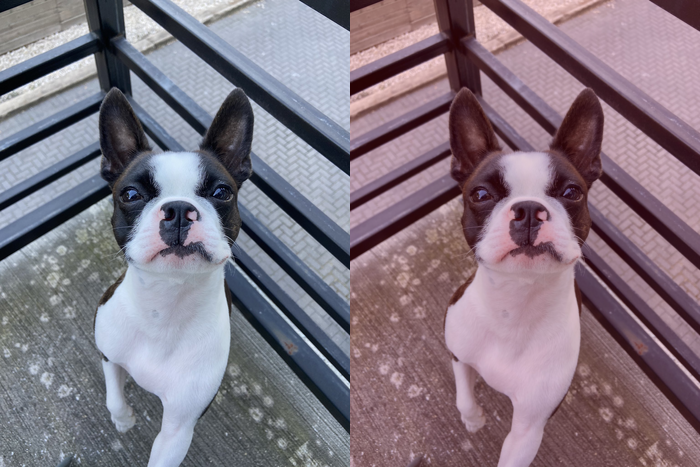
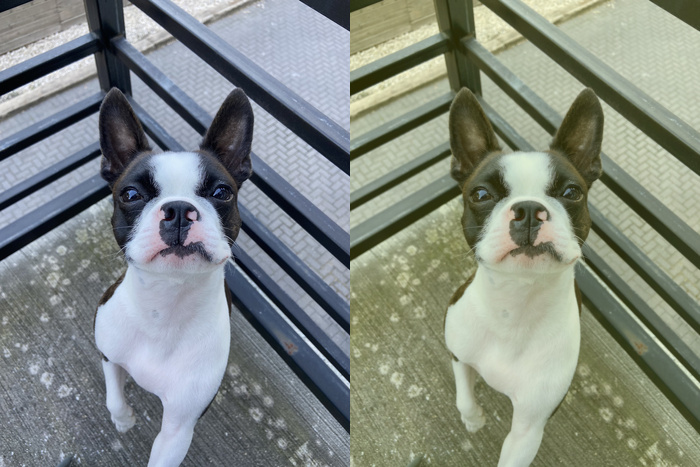
We can then use the function to apply some colors. Hex codes are typically 6 digits, but you can add transparency by varying the values at the end of string. So #000000 is black but #00000050 is black with 50% transparency.
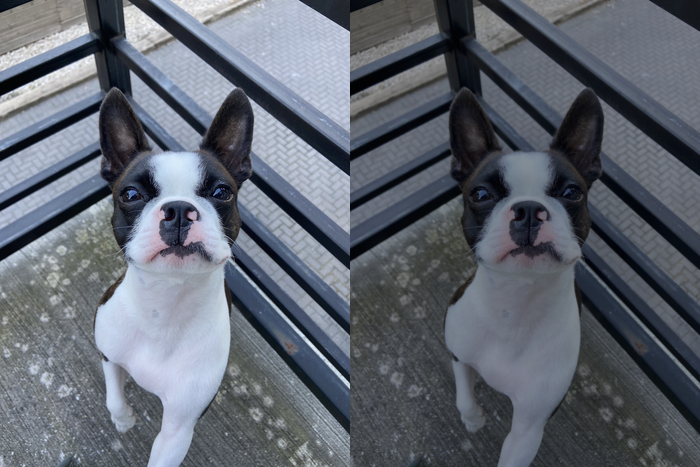
Now we can use our function to generate the overlay image but it’s rather large… and I’d like to see it side-by-side with the original for easier comparison. We can use magick::image_append() + magick::image_resize().
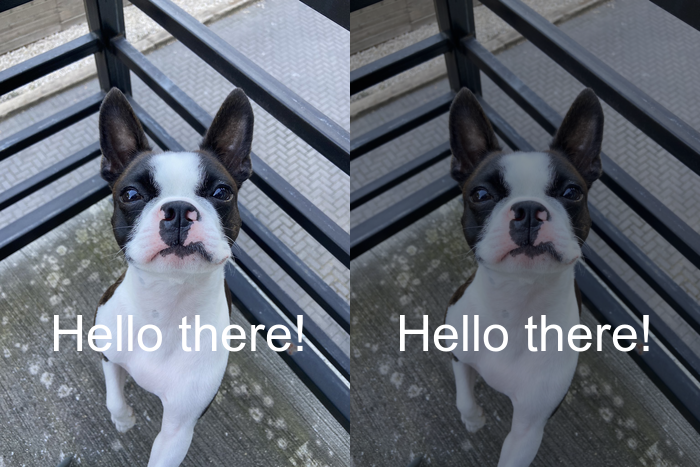
In my opinion, it’s quite a bit easier to read the text with the faded overlay!
# save it out for use in another articlecreate_overlay(raw_img, scales::alpha("black", 0.4)) |>
image_resize(500) |>
image_annotate("Goodbye Howard!", "center", size =60, color ="white",
location ="+0+130")
Expand for Session Info
─ Session info ───────────────────────────────────────────────────────────────
 setting  value
 version  R version 4.2.0 (2022-04-22)
 os       macOS Monterey 12.4
 system   aarch64, darwin20
 ui       X11
 language (EN)
 collate  en_US.UTF-8
 ctype    en_US.UTF-8
 tz       America/Chicago
 date     2022-08-01
 pandoc   2.18 @ /Applications/RStudio.app/Contents/MacOS/quarto/bin/tools/ (via rmarkdown)
 quarto   1.0.37 @ /usr/local/bin/quarto

─ Packages ───────────────────────────────────────────────────────────────────
 package     * version date (UTC) lib source
 magick      * 2.7.3   2021-08-18 [1] CRAN (R 4.2.0)
 scales      * 1.2.0   2022-04-13 [1] CRAN (R 4.2.0)
 sessioninfo * 1.2.2   2021-12-06 [1] CRAN (R 4.2.0)

 [1] /Library/Frameworks/R.framework/Versions/4.2-arm64/Resources/library

──────────────────────────────────────────────────────────────────────────────